
Welcome to this webpage which assists in reference vector generation with standard settings. Most of the decomposition based evolutionary algorithms (e.g., NAEMO, ESOEA) for Multi-Objective Problems (MOPs) start with a pre-defined set of reference points uniformly scattered on a unit simplex. These reference vectors (origin to reference points) partitions the objective space into multiple sub-spaces. The standard approach of defining such reference vectors is by using Das and Dennis's approach.
[Das and Dennis's approach] Das, I., and Dennis, J. E. (1998). Normal-boundary intersection: A new method for generating the Pareto surface in nonlinear multicriteria optimization problems. SIAM journal on optimization, 8(3), 631-657.
This webpage contains the sets of reference points for standard settings, and its Python 3.4 implementation (as a downloadable ZIP folder) to generate the set of reference points for any arbitrary setting.
The sets of reference points using the standard settings of reference vector generation are as follows:
| No. of objectives | Standard MOPs | Multi-Modal MOPs | ||||
|---|---|---|---|---|---|---|
| Divisions of boundary layer | Divisions of inside layer | Points (Click to download) | Divisions of boundary layer | Divisions of inside layer | Points (Click to download) | |
| 3 | 12 | -- | |
23 | -- | |
| 5 | 6 | -- | |
8 | -- | |
| 8 | 3 | 2 | |
5 | 2 | |
| 10 | 3 | 2 | |
4 | 3 | |
| 15 | 2 | 1 | |
-- | -- | -- |
The implementation was done on a system having Intel Core i7 processor @ 2.5GHz with 8GB RAM and using Python 3.4.
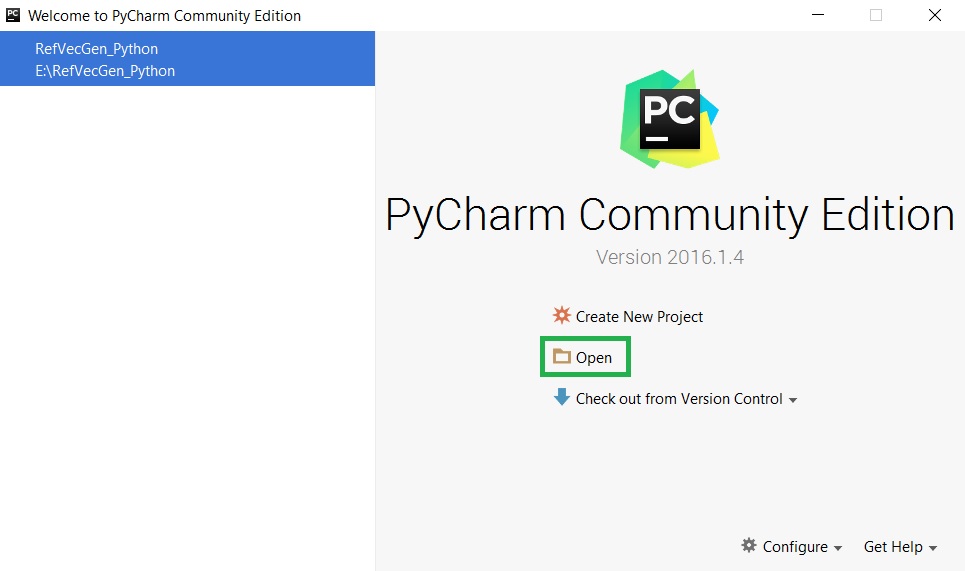
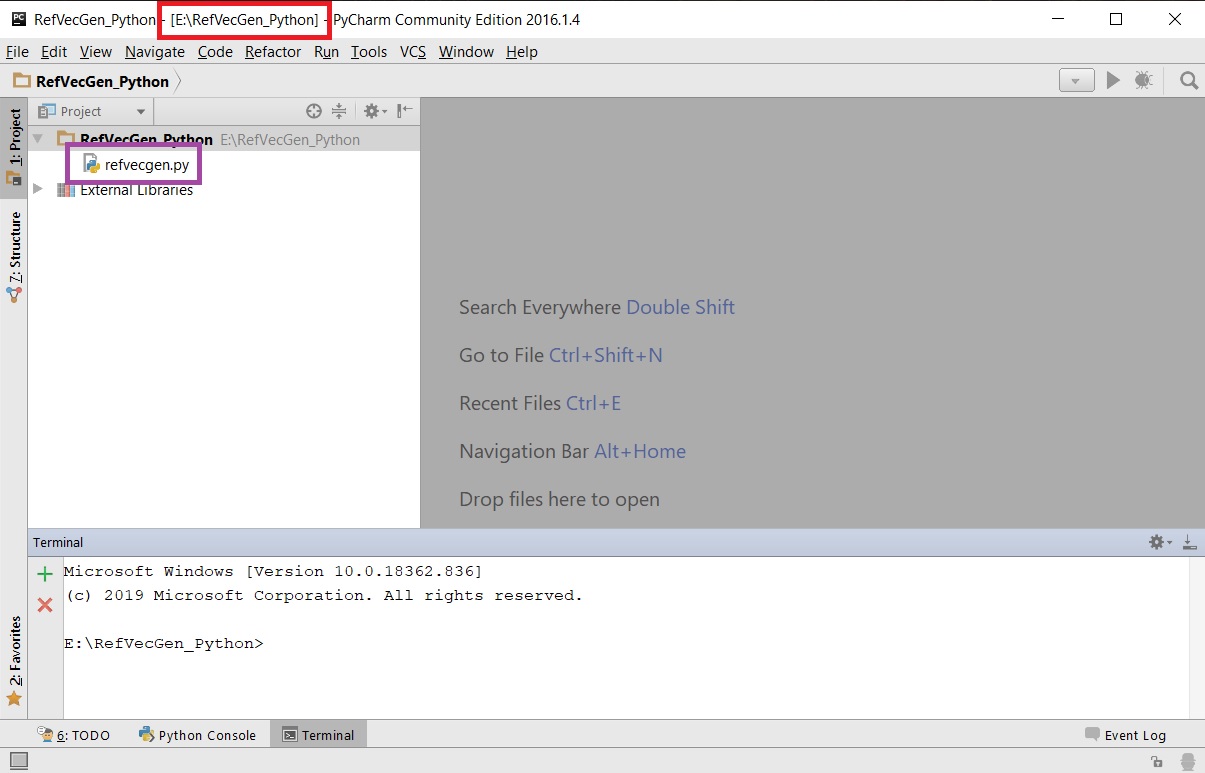
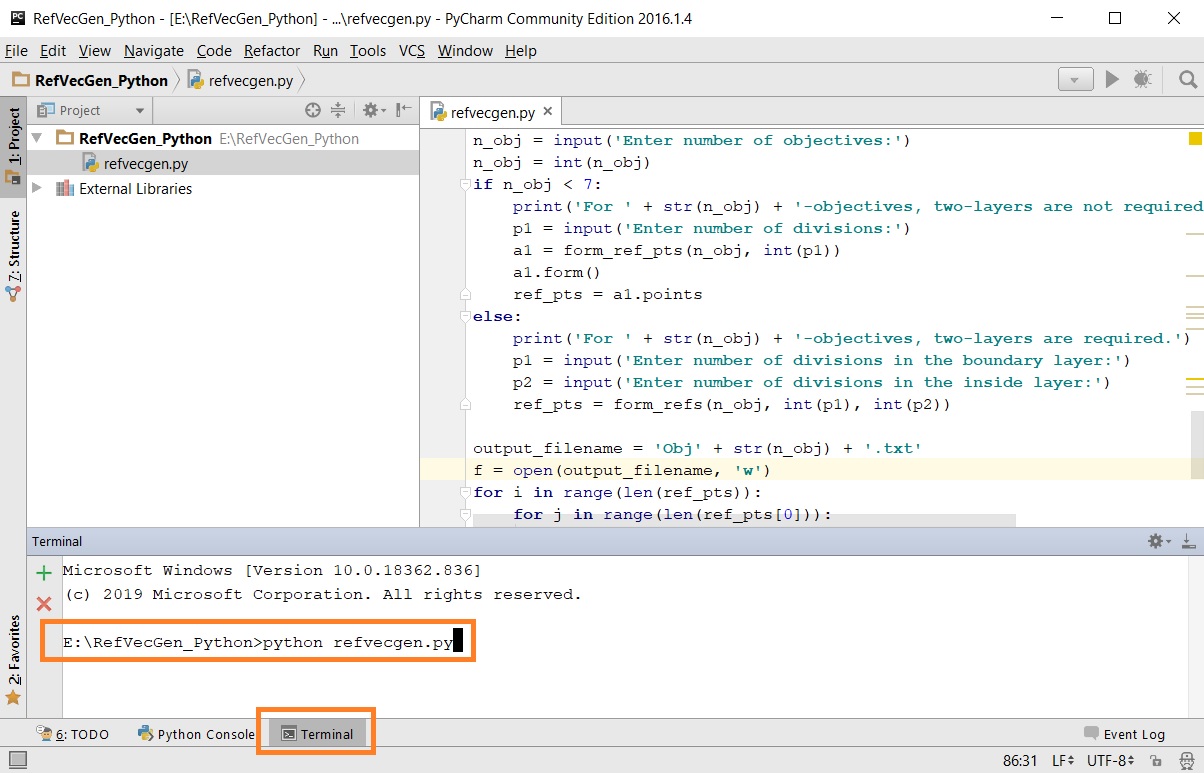
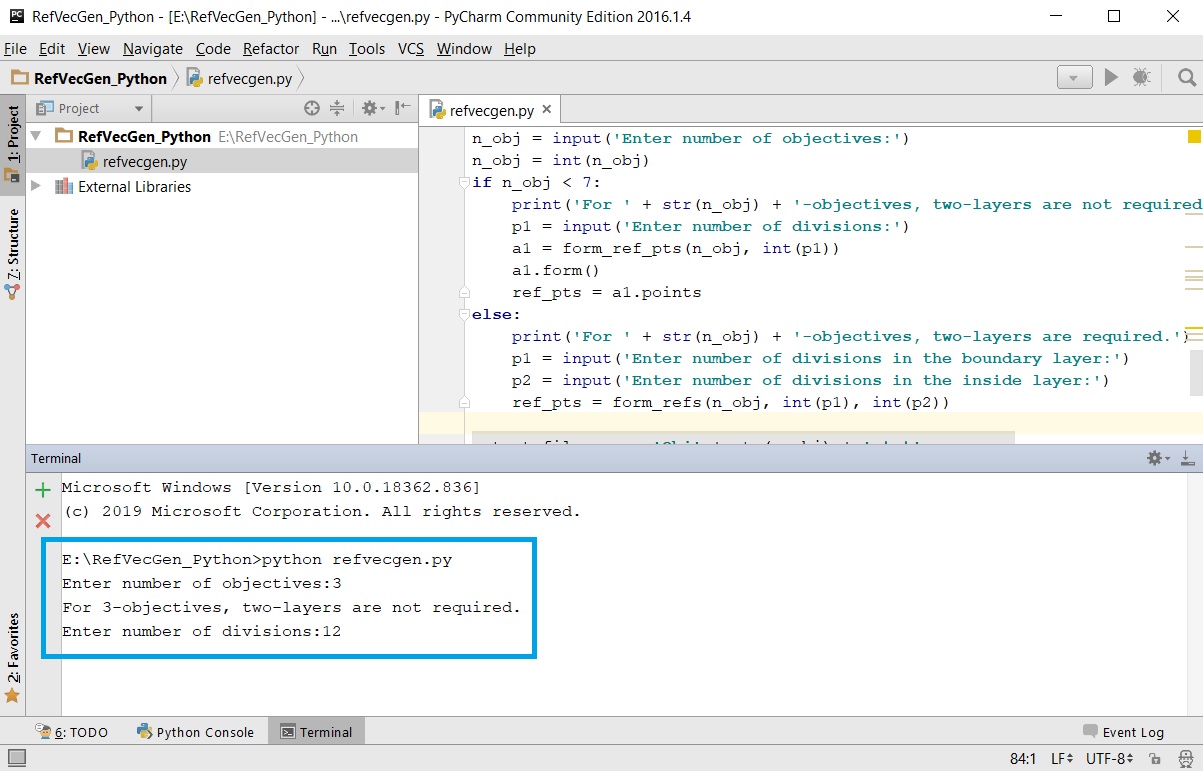
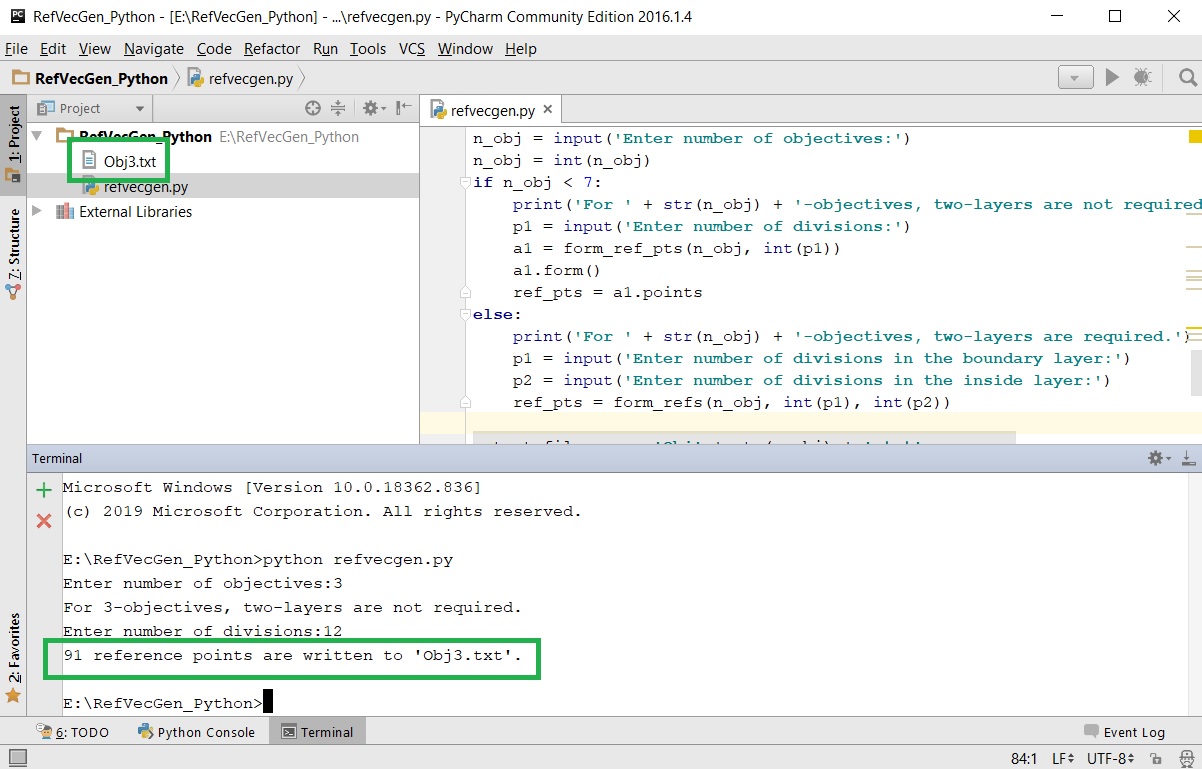
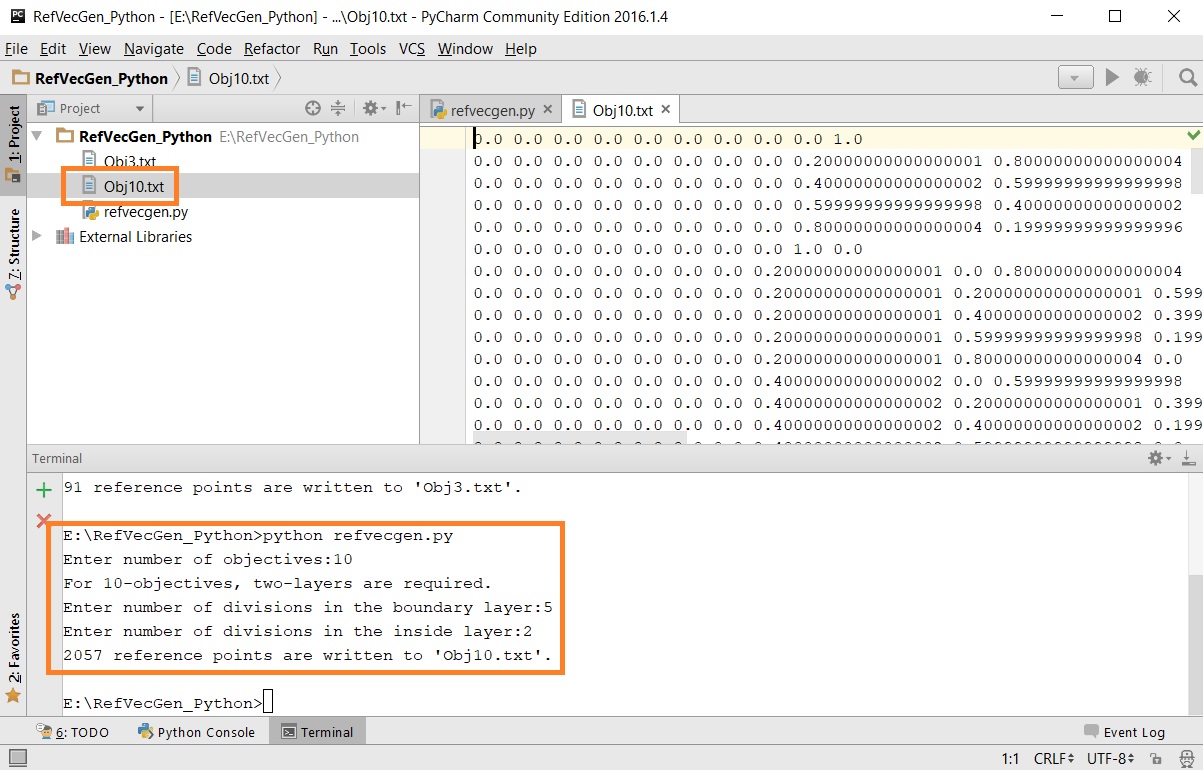
The Python 3.4 codes are available in a compressed folder named "RefVecGen_Python.zip" which is downloadable from the link below. The compressed folder is to be extracted in which there is one .py file. This file named "refvecgen.py" is to be executed. This program can be used for practical applications requiring other settings.
Click here to download the Python 3.4 implementation.The code can be executed as listed below. Against each step, a screenshot is provided for reference. The screenshots are taken during execution of the code in Windows 10.
Visitor Counter
![]()
![]()
![]()
![]()
![]()
Author: Monalisa Pal
Email: monalisap90@gmail.com